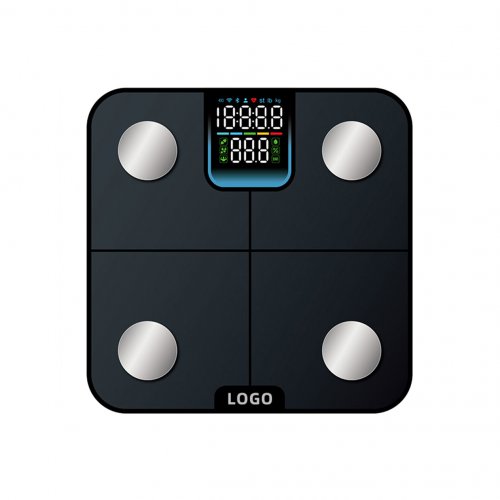
How To Use Weighing: A Practical Guide For Accurate Measurement In Cooking, Science, And Daily Life
10 August 2026, 04:43
Weighing is far more than placing an object on a scale and reading a number. It is a fundamental skill that underpins baking chemistry, laboratory precision, portion control, and even postal logistics. Yet most people never learn to weigh properly. This guide breaks down the core techniques, common pitfalls, and professional tricks to help you get reliable, repeatable results every time.
Before you touch any sample, know your instrument. There are three main categories of scales:
Key rule: Always check the scale’sminimumweight. Most digital scales are inaccurate below 2–3 grams. If you need to weigh 1 gram of baking powder, use a scale with a 0.1 g resolution, or weigh a larger amount and divide.
Place the scale on a flat, stable surface. A wobbling countertop or a carpet will ruin accuracy. Press the TARE or ZERO button with nothing on the platform. The display should read 0.0. If it does not, calibrate per the manufacturer’s instructions (usually requiring a 100 g or 500 g standard weight).
For dry ingredients, use a lightweight bowl or a piece of parchment paper. For liquids, use a pouring jug that fits on the platform without overhanging. Never place hot food directly on a scale – heat causes air currents and thermal expansion in the load cell, leading to erratic readings. Let soup or melted chocolate cool to room temperature first.
Instead of scooping directly into the final pot, do this:
Why? Because if you accidentally add too much, you can remove a small amount without worrying about tare again. Also, weighing by difference prevents cross-contamination when working with multiple ingredients (e.g., salt, yeast, spices).
Many recipes list milliliters, but scales measure mass. If your scale has a milk/water mode (density 1 g/mL), it works directly. For oil (0.92 g/mL) or honey (1.42 g/mL), either use the specific gravity setting or calculate manually: weigh 100 mL of oil → you should see 92 g. If your scale lacks this, weigh a known volume once and write the conversion on a sticky note for future use.
Never scoop flour with a measuring cup. Scooping compresses air, adding 20–30% more flour than intended. Instead:
1. Fluff the flour with a fork. 2. Spoon it gently into the weighing bowl until the scale reads your target. 3. Level off only if using cups – but for weighing, you don’t need to level.
Pro tip: For bread recipes, weigh water first, then add flour until the dough reaches the target hydration percentage. This is how professional bakers adjust for humidity.
Weighing food after cooking is misleading because water evaporates. Always weigh raw ingredients for calorie tracking. For meat, weigh before cooking and note that 100 g raw chicken breast ≈ 75 g cooked. For rice, weigh dry – 50 g dry rice yields ~150 g cooked.
Use a scale with a hold function. Place the package, press HOLD, and the scale freezes the reading after 2 seconds – essential because the package may shift. Add 5–10% margin for tape and labels.
1. Weighing on an uneven surface. A single corner of paper under one foot of the scale changes the reading by 1–2 grams. 2. Forgetting to tare after changing containers. Always press tare when you swap bowls. 3. Reading the scale at an angle. Digital scales have a viewing angle limit. Look straight down at the display. 4. Weighing cold ingredients on a warm scale. Condensation forms, adding invisible grams. Wait 10 minutes for chilled items to reach ambient temperature. 5. Using the “ml” marking on a kitchen scale for non-water liquids. That setting assumes a density of 1.0 – wrong for oil, syrup, or vinegar.
Quick field test: Place a U.S. nickel (5.00 g) or a standard AA battery (23 g) on the scale. If the reading is off by more than the scale’s resolution, recalibrate.
Sometimes volume is better. For chopped leafy greens, herbs, or shredded cheese, weighing is impractical because air pockets dominate. Use cups for these. Also, for very sticky substances like molasses or peanut butter, weigh the entire jar, scoop out the needed amount, then weigh the jar again. The difference is your portion – no mess, no scraping.
Mastering weighing is a quiet superpower. It transforms inconsistent baking into art, turns chaotic portion tracking into science, and saves you money on postage. Start with one technique – weigh your coffee beans instead of scooping. Within a week, you will taste the difference. Within a month, you will never trust a measuring cup again.
Product Catalogs