How To Use Smart Scale: A Complete Guide To Setup, Tracking, And Interpreting Your Data
15 August 2026, 03:41
A smart scale is far more than a digital step counter for your weight. It is a bioelectrical impedance analysis (BIA) device that sends a low, safe electrical current through your body to estimate body fat percentage, muscle mass, bone density, water weight, and even visceral fat. However, to get consistent, meaningful data, you cannot simply step on and off. This guide walks you through every stage—from unboxing to long-term habit building—so you can turn raw numbers into actionable health insights.
Step 1: Unboxing and Physical Setup
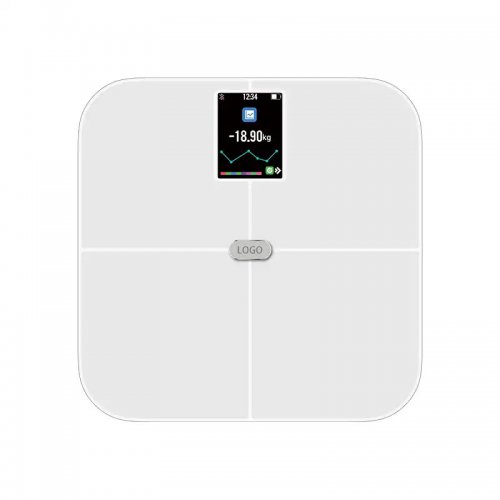
Before you connect anything, place the scale on a hard, flat surface. Carpet, rugs, or uneven tiles will compress under your weight and distort the sensors. If you have a tile floor with grout lines, position the scale so all four feet sit on the same tile. Next, install the batteries (usually four AAA or a built-in rechargeable cell). Most modern smart scales have a small OLED or LCD display that will flash “0.0” when ready.
Now, download the companion app. The brand matters less than the protocol: whether you use Smart Scales, Smart Scales, Smart Scales, or a generic “Smart Life” app, the setup is similar. Open the app, create an account, and enable Bluetooth (and Wi-Fi if your scale supports it—Wi-Fi is more reliable for syncing without your phone nearby). Put the scale into pairing mode by stepping on it briefly or pressing the power button until the display shows “PAIR” or a blinking Bluetooth icon. In the app, select “Add Device” and follow the on-screen prompts. Once paired, the app will ask for your profile details: age, sex, height, and activity level. Do not rush this step—the scale calculates body fat using these inputs. A two-inch error in height can shift your body fat reading by 3–5%.
Step 2: Calibrating Your Baseline
After pairing, perform a “zero calibration.” Place the scale on the floor, make sure nothing is on it, and wait for it to read “0.0.” If it does not, press the scale with your foot to wake it, then remove your foot and wait. Some scales have a manual calibration button in the app. Do this once a month, or whenever you move the scale to a new location.
Now, set your “goal mode.” Most apps ask if you want to lose, gain, or maintain weight. This setting does not change the measurement—it only changes how the app graphs your progress. Choose the option that matches your current intent, but remember you can change it later without losing data.
Step 3: The Correct Weighing Technique
This is where most users fail. For accurate and comparable readings, follow these rules every single time:
1. Weigh at the same time of day. The best window is immediately after waking, after using the restroom, and before drinking or eating anything. Your body is dehydrated and empty, which gives the most stable baseline. Evening readings can swing 2–3% in body fat due to food and water intake. 2. Bare feet, dry skin. The electrodes on the glass surface need direct skin contact. Socks create an insulating layer, and wet feet can cause erratic impedance readings. If you have very dry calluses, dampen your feet slightly with a wet cloth, then dry them to a “tacky” state—this improves conductivity. 3. Stand still, distribute weight evenly. Place both feet on the metal electrode strips, not just the center of the glass. Stand upright, arms at your sides, and do not hold onto anything. A slight forward lean or shifting weight to one foot changes resistance and skews muscle mass readings. 4. Wait for the full cycle. The scale will show your weight first, then a series of dashes or a “%” symbol as it runs the impedance test. Do not step off until the display locks the final numbers (usually 10–15 seconds). If you step off early, the scale may only record weight, not body composition.
Step 4: Syncing and Data Interpretation
After the measurement, the app should sync automatically. If it does not, open the app and pull down to refresh. For Wi-Fi scales, ensure the scale is within range of your router—thick walls can block sync. If you use Bluetooth, keep your phone within 10 feet during weighing.
Now, the tricky part: reading the numbers. The app will show a dashboard with weight, BMI, body fat %, muscle mass, bone mass, water %, and visceral fat rating. Here is how to interpret each:
Step 5: Advanced Tips for Reliable Trends
Step 6: Maintenance and Troubleshooting
Clean the glass with a damp cloth and mild soap weekly. Do not use abrasive cleaners—they can scratch the sensors. Keep the scale away from direct sunlight and extreme temperatures; heat can warp the load cells. If the scale shows “Err” or “Lo,” replace the batteries immediately. Low batteries cause inaccurate impedance readings.
If your readings suddenly jump by 5% body fat overnight, check three things: (1) are your feet clean and dry? (2) is the scale on carpet? (3) did you change your height or age in the app accidentally? If none of these explain the jump, recalibrate by removing the batteries for 30 seconds, then reinstall and re-pair.
Final Recommendation: The 30-Day Rule
Do not judge the scale for the first 30 days. Instead, focus on consistency. Weigh every morning, sync every day, and record how you felt (sleep quality, stress, meals) in the app’s journal. After 30 days, look at the trend line. If your body fat is trending down while muscle mass is stable or up, you are on the right track—even if the scale shows a higher weight than you expected. The smart scale is not a judge; it is a data logger. Use it as a tool for feedback, not as an emotional mirror. And above all, remember that the scale cannot measure your fitness, your strength, or your health. It only measures electrical resistance through tissue. The rest is up to you.
Product Catalogs