Accurate measurement is a cornerstone of success in countless activities, from cooking and DIY projects to scientific experiments and fitness tracking. Whether you’re a home cook, a hobbyist, or a professional, understanding how to apply measurement tips effectively can save time, reduce waste, and improve outcomes. This guide provides actionable steps, techniques, and precautions to help you master measurement in various contexts.
Before diving into specific tips, it’s crucial to recognize the two primary measurement systems: the metric system (grams, liters, meters) and the imperial system (ounces, cups, inches). Many tools and recipes use one or the other, and mixing them can lead to errors.
Step 1: Identify the system required for your task. For example, a baking recipe may list ingredients in cups and tablespoons (imperial), while a science experiment typically uses milliliters and grams (metric).
Step 2: Keep conversion charts handy. Common conversions include: 1 cup = 240 ml, 1 ounce = 28.35 grams, and 1 inch = 2.54 cm.
Step 3: Use dedicated measuring tools for each system. Avoid using a metric measuring cup for imperial measurements, as volume markings differ.
Using appropriate measuring instruments is non-negotiable for accuracy. Different materials and designs serve specific purposes.
For dry ingredients: Use nested measuring cups made of metal or plastic with flat rims. Spoon the ingredient into the cup and level it off with a straight edge (like a knife) for precision.
For liquid ingredients: Use clear glass or plastic measuring cups with spouts and graduated markings. Place the cup on a flat surface and read the measurement at eye level to avoid parallax error.
For small quantities: Invest in a set of measuring spoons (1/4 teaspoon to 1 tablespoon). Dip the spoon into the ingredient, then level it off.
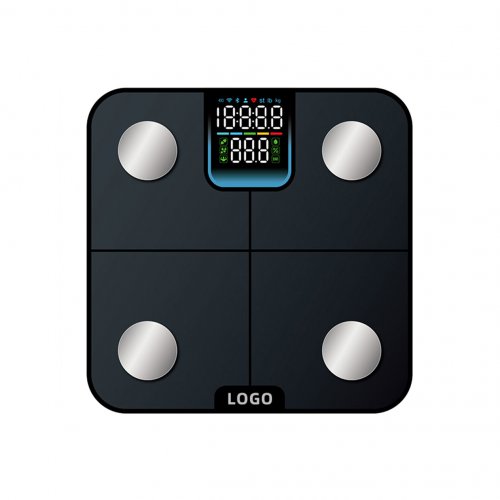
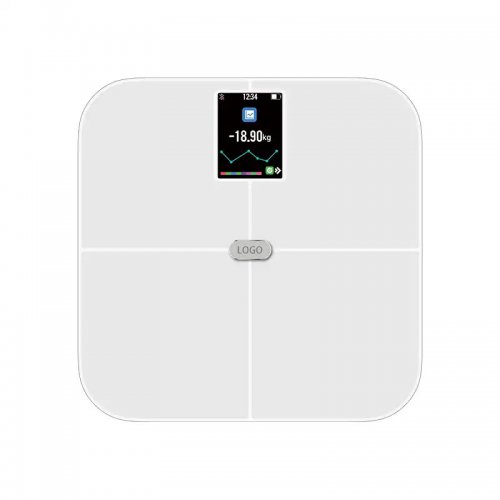
For weight-based measurements: A digital kitchen scale is indispensable. It eliminates volume inconsistencies, especially with flour or brown sugar.Pro tip: Calibrate your scale periodically by placing a known weight (like a coin) to verify accuracy. For analog tools, check for wear or warping.
Improper handling of ingredients is a common source of measurement errors. Follow these techniques:
Flour and powdered sugar: Never scoop directly from the bag—this compacts the ingredient. Instead, fluff the flour with a spoon, then lightly spoon it into the measuring cup. Level off without tapping the cup.
Brown sugar: Pack it firmly into the measuring cup until it holds the shape of the cup when turned out. This ensures the recipe’s intended sweetness and moisture.
Liquids: Pour slowly to avoid splashing. For sticky liquids like honey or molasses, lightly coat the measuring cup with oil or nonstick spray so the ingredient slides out completely.
Butter: If using sticks, check the wrapper for pre-marked tablespoon lines. For blocks, cut off the required amount using a knife, then weigh it for precision.Baking demands exact measurements, while cooking allows more flexibility. However, both benefit from these tips:
Use the spoon-and-level method for dry ingredients like cocoa powder or cornstarch.
Measure liquids before dry ingredients to avoid cross-contamination if you reuse the same cup.
For dough or batter, measure by weight when possible. A cup of all-purpose flour can vary from 120 to 150 grams depending on humidity and technique.
Temperature matters: Ingredients like eggs and butter should be at room temperature for consistent results unless specified otherwise.Measuring for woodworking, painting, or sewing requires different tools and attention.
Use a tape measure with a locking mechanism for one-person tasks. Hook the end over the edge of the material and pull taut.
For angles, a protractor or combination square ensures precise cuts. Mark measurements with a sharp pencil for thin, accurate lines.
When measuring for curtains or fabric, add extra length for hems and seams. Always measure twice and cut once.
For liquid volumes in mixing paints or adhesives, use graduated mixing cups with clear markings. Stir thoroughly before measuring to ensure consistency.Tracking food portions or body measurements requires consistency.
For portion control, use a food scale to weigh proteins, grains, and vegetables. A standard serving of cooked chicken is about 100 grams (3.5 ounces).
For body measurements, use a flexible, non-stretchable tape measure. Measure at the same time of day, ideally in the morning before eating. Wrap the tape snugly but not tightly around the area (e.g., waist, hips, biceps).
Record measurements in a log to track progress over time. Avoid relying on memory, as small changes are easily forgotten.Even experienced individuals make mistakes. Here are pitfalls to watch for:
Using liquid measuring cups for dry ingredients: Liquid cups have a spout and often lack a level edge, making it hard to get an accurate dry measurement.
Estimating by eye: A “pinch” or “handful” varies widely between people. Stick to standardized measures.
Ignoring temperature effects: Hot liquids expand, so measure them at the temperature specified in the recipe (usually room temperature).
Overlooking tare weight: When using a scale, always zero out the container before adding ingredients. This is especially important for sticky or dense items.
Relying on older tools: Measuring spoons and cups can fade or become bent over time. Replace them every few years or if you notice inaccuracies.For those seeking professional-level accuracy, consider these advanced tips:
Use the displacement method for irregular solids: To measure the volume of an odd-shaped object (like a potato or rock), submerge it in a known volume of water. The rise in water level equals the object’s volume.
For small liquid volumes, use a syringe or pipette (available at pharmacies or lab supply stores) for doses under 5 ml.
When scaling recipes, calculate using weight rather than volume. For example, if a recipe calls for 2 cups of flour (240 grams), scaling up by 1.5 means using 360 grams, not 3 cups (which might be more due to compaction).
For sewing or tailoring, use a seam gauge for precise hems and button placements. This small ruler slides along the fabric to measure consistent distances.Proper care extends the life of your measuring tools and ensures reliability.
Clean measuring cups and spoons immediately after use, especially if they held sticky ingredients. Avoid abrasive scrubbers that can scratch markings.
Store digital scales in a dry place and remove batteries if not used for extended periods.
Check tape measures for kinks or bent tips. A damaged hook can throw off measurements by up to 1/16 inch.
Calibrate thermometers (for cooking or science) by testing them in ice water (should read 0°C or 32°F) and boiling water (100°C or 212°F at sea level).Like any skill, accurate measurement improves with practice. Start with simple tasks—like measuring water or sugar—and gradually move to complex ones like scaling a cake recipe or cutting lumber. Over time, you’ll develop an intuitive sense for when a measurement “looks right” and when to double-check.
Remember that context matters. In some cases (like seasoning a soup), a rough estimate is fine, but in others (like baking bread or mixing epoxy), precision is critical. Adapt your approach accordingly.
By following these measurement tips, you’ll reduce errors, save resources, and achieve consistent, reliable results whether you’re in the kitchen, workshop, or gym. The key is to be deliberate, use the right tools, and never hesitate to measure twice.